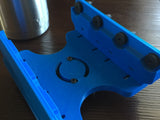
**This is an old design that I have not touched in years. It does work, but could be improved. If I get around to it sometime I may spend some time improving it.
I have gone through a couple revisions of this. The current version is rev3, which is making much better use of space and leaving a much smaller footprint. I also uploaded the .iges files so if anyone would like to modify them they can.
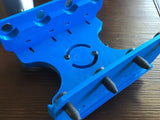
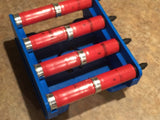
This is my try at a shotgun shell caddy, as used by many multi-gun competitors. This is not to be used for commercial purposes.
You will need:
8 - M4x20mm Machine Screws
8 - M4 Nuts
4 - 1/2"x 1/16" magnets (http://www.kjmagnetics.com/proddetail.asp?prod=D81-N52)
1 pack of rubber bumpers (http://www.mcmaster.com/#9310k12/=13rn8to)
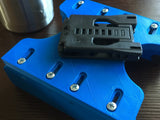
1 TekLok mount (if that is what you want to use)
Super Glue
3D Printed Parts:
Material: ABS
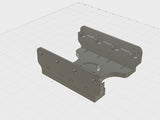
One of each: 8_up_body, 8_up_front, 8_up_back
Layer Height: 0.2mm
Infill: 30%
Shell thickness: 1.0mm
Bottom/Top thickness: 1.0mm
Instructions:
- Print the parts.
- Press the M4 nuts into the slots, you may need to use a hammer and a punch to tap them in to place.
- Glue the magnets into the 8_up_front part, allowing each one to dry before you put the next in, otherwise it can easily be pulled out by other magnets or metal parts.
- Install the rubber bumpers by pulling the small ends through the holes in the 8_up_back part
- Mount the 8_up_front and 8_up_back to the 8_up_body. You want the magnets and the fat ends of the rubber bumpers facing in (each side with the “shelf” for the shells to sit on). The 8_up_body will be oriented so that the side with the counter-bore slots is facing down.
- You will likely need to adjust the ends so that it will hold the shells correctly.


